.png?width=300&height=65&name=GG%20Logo%20Main%20Navy%20(1).png)
If you already know your username and password, enter them here to log in.
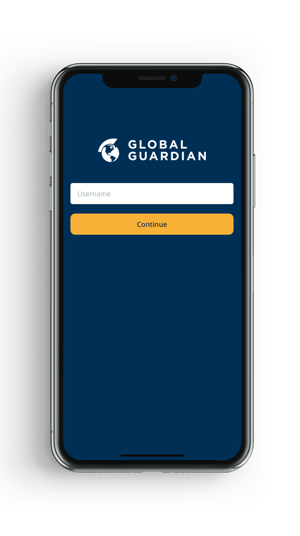
If you have not used the application and are unaware of your username and password, you will need to have received a Welcome Email from Global Guardian inviting you to the platform. Check your junk or spam folder for this email. Some organizations may have Single Sign-On enabled, so check with your company contact to see if you can log in with your existing credentials.
App Home Screen
The app home screen contains the same interactive map as the desktop. The map is highly customizable by setting your personal preferences (see Settings). From the home screen, you can navigate to other areas of the app using the quick access menu grid.
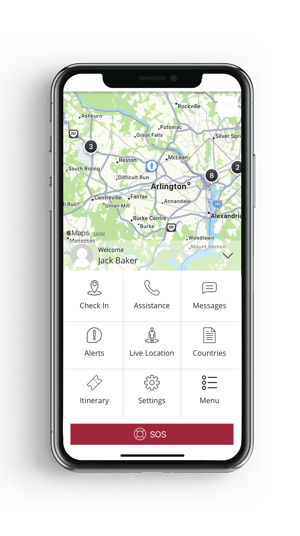
Home grid views can vary per customer and are dependent on your subscription.
Check In
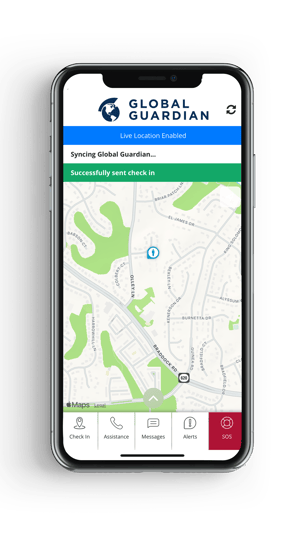
Checking in makes your location known to your company and to the Global Guardian 24/7 response team. To check in, tap the button on the menu grid.
After checking in, Global Guardian and administrators within your company will be able to see your location. Upon tapping Check In, HALO will zoom into your location, place a blue icon at your position, and confirm that your check-in was successful.
Assistance
The "Assistance" button gives users instant access to their company's emergency contact number. This designated phone number may direct users to Global Guardian's 24/7 Operations Center, an emergency medical provider, or a company's security department.
When the "Assistance" button is pressed, three options appear: "Call with Location," "Just Call," and "Cancel." Choosing "Call with Location" shares the caller's location with the recipient, while "Just Call" places the call without sharing location details.
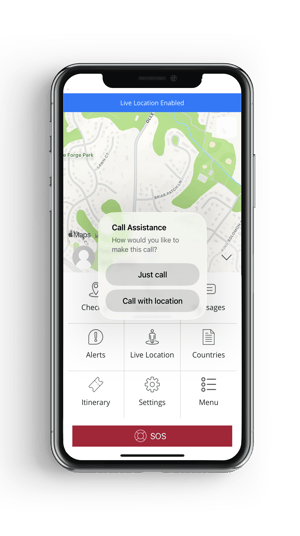
Some clients may have separate "Call for Medical" and "Call for Security" buttons.
SOS
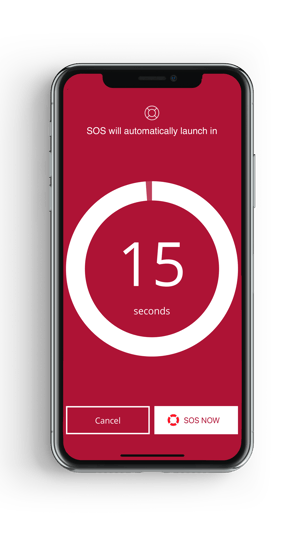
If you need emergency assistance, tap the red SOS button on the home screen. This will start a 15-second countdown. If you tapped the button by mistake, you can tap "Cancel" to abort the SOS. To send the SOS immediately, tap "SOS Now." The app will automatically start a tracking session that updates your location every minute. To stop your SOS tracking session, tap the red SOS tracking bar and tap "Stop Tracking."
After the SOS has been sent, expect a call from either the Global Guardian Operations team or your company's designated responder.
Alerts
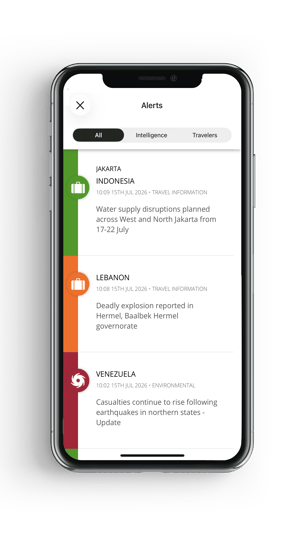
Tapping "Alerts" in the menu grid displays the latest intelligence and travel alerts in list form. These alerts correspond to those shown on the map.
In the navigation bar at the top, alerts can be filtered by "Intelligence," "Travelers," or "All." These lists can also be searched using the search bar at the top. Selecting an intelligence alert displays further information about the situation along with Global Guardian's advice. You will also be able to view the distance of the incident from your current location.
Refer to the Notifications article to select personal notification settings.
City & Country Reports
For every country in the Global Guardian database, as well as a select number of cities, a security report is available and can be read within the HALO app.
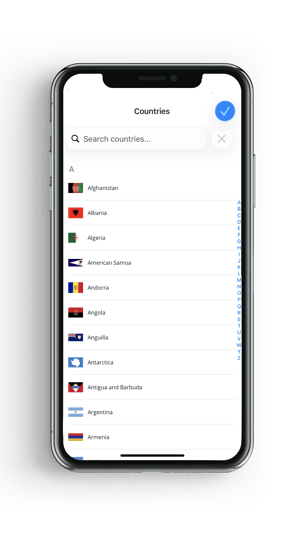
After tapping "Country Reports" from the menu grid, choose the country you'd like to explore from the list. You'll first see an interactive overview with key details. Scroll down to access the full country report or select a specific city report, if available.
Itineraries
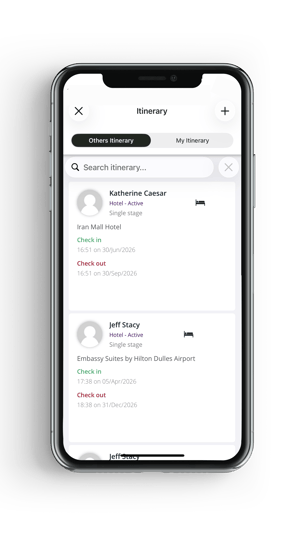
Users can view and manually enter itineraries via the mobile app.
To manually enter an itinerary, navigate to the Itinerary tab and tap the "+" in the top-right corner. From here you will be guided step by step through the required fields to input your itinerary.
Map Settings
Users can customize which map items appear on the home screen by tapping the Settings icon in the menu grid:
- Cluster Map: When enabled, map items are grouped into "clusters" for a clearer, faster user experience. This can also be achieved by pressing and holding on the home screen map.
- Risk Map Overlay: When enabled, shows a visual representation of global risk. Each country is assigned a color-coded risk rating, from negligible to severe.
- Map Type: Choose which map type to display on your home screen (e.g., Standard, Satellite, Hybrid).
- Alerts Active Since: Define how far back you would like to see intelligence alerts and user locations.
- Intelligence Types: Filter your intelligence by risk and category.
- Countries: When enabled, filter your intelligence, user locations, and itinerary by country.
- Locations: Select customer-defined places to show on the map. These are places an administrator has added to the platform (e.g., offices, embassies, airports).
- Show All Future Itinerary: If enabled, all future itineraries will be displayed.
- Number of Days in the Future to Show Itinerary: If not showing all future itineraries, define how many days ahead you want to see.
- Numbers of Days in the Past to Show Itinerary: Define how many days back you want to see itineraries.