.png?width=300&height=65&name=GG%20Logo%20Main%20Navy%20(1).png)
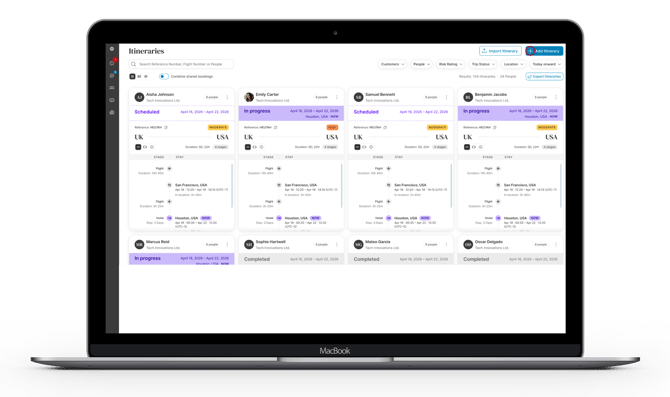
To navigate to Itineraries, click the “Admin” icon in the top left corner of the side panel, and select "Itineraries" located in the "Tracking & Travel" section. To manually add an itinerary, select “+ Add Itinerary” in the top-right corner. A step-by-step guide will take you through the information required to create a new itinerary.
Administrators can create itineraries on behalf of other users, while standard users can create itineraries for their own travel.
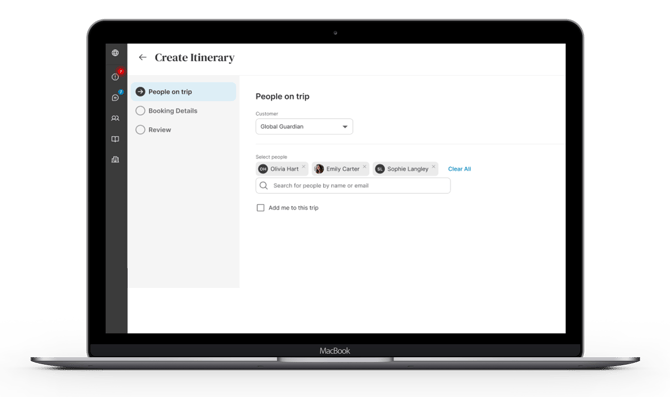
1. Select Travelers
First, select the users who will be traveling. You can add one or multiple people to the itinerary as required.
Select “Next” to continue.
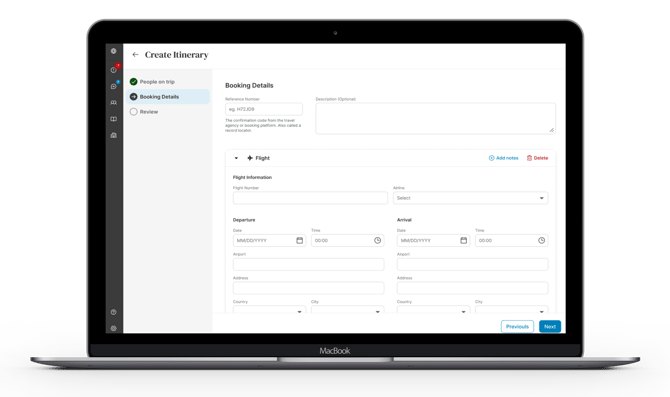
2. Enter Booking Details
Enter the booking details for the trip. A booking reference is required when creating an itinerary manually. You can use a reference from the original booking or assign your own.
Using a clear and unique booking reference makes it easier to find the itinerary later if you need to update or cancel the booking.
You can also add a description for the trip. This is optional but can be used to record any additional information relevant to the journey.
3. Add Itinerary Items
Select "+ Add Itinerary Item" and choose the type of travel or accommodation you want to add, such as a flight, hotel, train, or car.
A new section will open with the relevant fields for the selected itinerary item. Complete the required information for each stage of the journey.
For flights, you can enter the flight number to search for existing flight information and automatically populate the departure and arrival details. Alternatively, you can enter the information manually.
You can also add notes specific to each itinerary item if required.
When you have finished entering all stages of the journey, select "Next." If additional stages need to be added, select "+ Add Itinerary Item" and repeat the process.
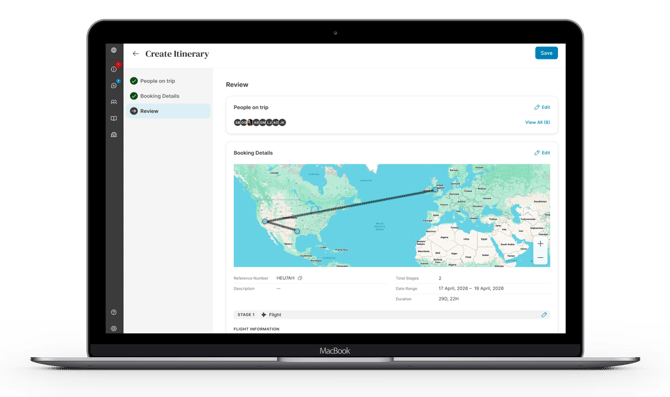
4. Review the Itinerary
Before saving, review all the information entered to make sure the itinerary is correct. Quick links are available to edit individual itinerary stages if any changes are required.
Once the details are to your satisfaction, select “Save” to create the itinerary.